This article is how to replace the DC jack on a ThinkPad X300.
This X300 came to me with little information. Apparently the user knew that the jack was most likely the culprit and asked for the jack to be fixed.
I tested the AC adapter with a multimeter and it was putting out the correct voltage.
Next I plugged it into the X300. As you can see in the picture below, there were no signs of it getting power.
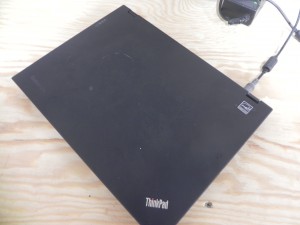
Next I moved the cord around. A little to the left. A little to the right. Nothing. Then, I pressed down, and tada! Power is getting to the machine.
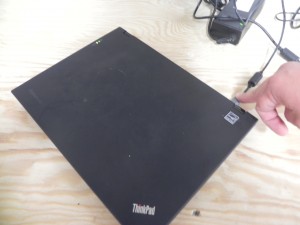
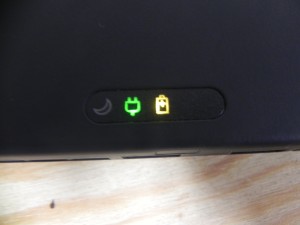
So now that the jack problem is verified, it is time to take this thing apart.
I first unplug it and remove the battery.
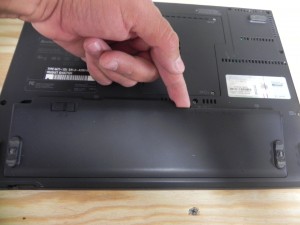
Now that the battery is out I’ll take the memory cover off.
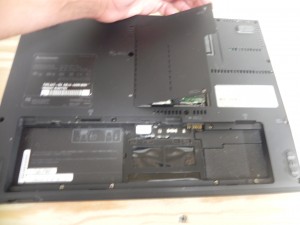
Next I am removing the 2 screws on the bottom of the laptop that hold the keyboard in place. Once those are out, the keyboard slides back, allowing the tabs on the bottom if it to slide out from under the palmrest. It can then be lifted out of place.
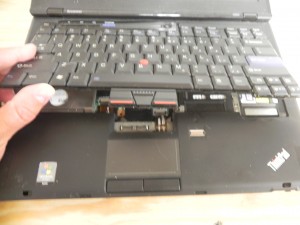
Unplug the keyboard from the motherboard connector.
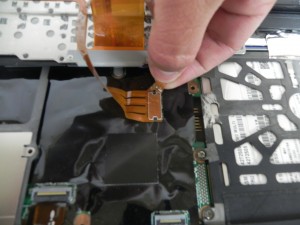
Now disconnect the palmrest cables from the motherboard.
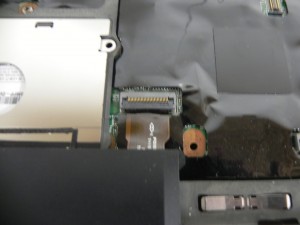
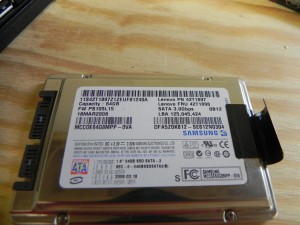
Remove the hard drive cover, and the hard drive.
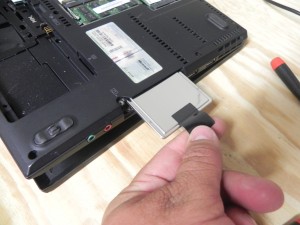
Once the hard drive is out, note the hidden screw. You’ll need to remove this to get the keyboard bezel off in a few.
I’m moving on to remove the palmrest screws. These are relatively easy to find are and typically the screws in the first few inches of the machine.
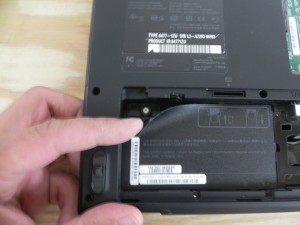
Once the palmrest screws are remove the palmrest will fall right off with almost no effort.
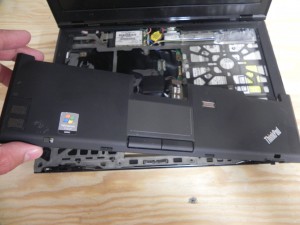
Now I’m removing the DVD and foil tape stuff.
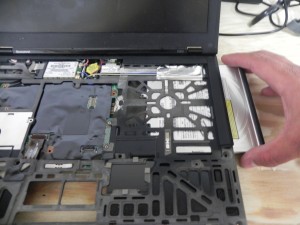
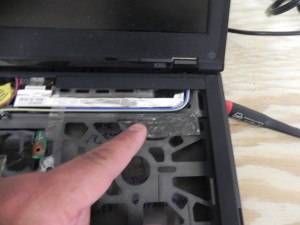
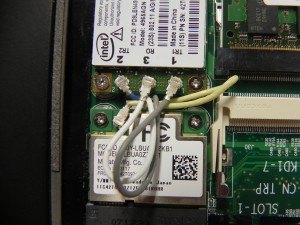
Next I’m going to unplug the wires for the wireless devices. These will need to be threaded through the machine because they all travel into the lid of the laptop and through the palmrest and both are coming off in a minute.
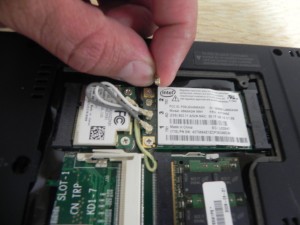
Now I remove the screws for the upper keyboard bezel. These are pretty much around the outside of the laptop. There are 2 or 3 on the topside. It falls off very easily once all of the screws are out. No not damage the cables while removing this.
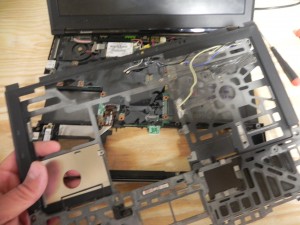
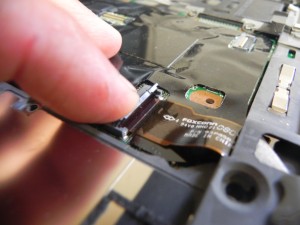
Unhook the other cables here. Use the pull tabs that are so graciously put in place. Pull tabs are your friend.
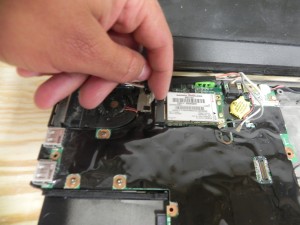
Now that all of the cables are disconnected the LCD assembly is coming off. There are 4 screws for this on this model.
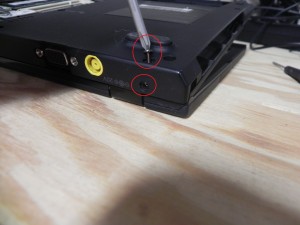
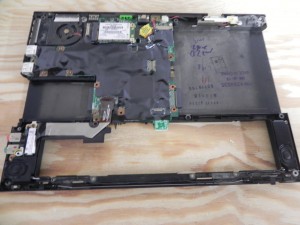
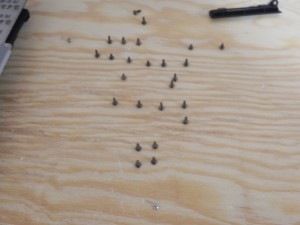
Now it is time to inspect the jack area and see what went wrong. Discolored metal! Yay. Something isn’t right..
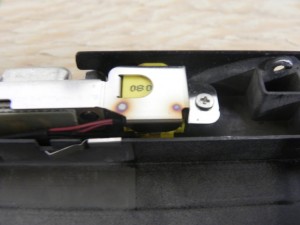
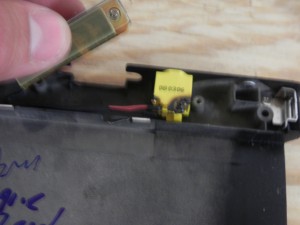
I had the new jack ready for action.
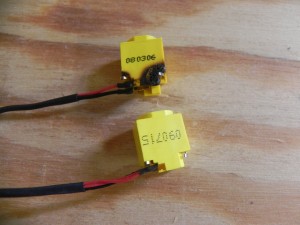
Now the laptop needs to go back together. Here I’m just going to do everything in reverse.
The new jack is in, the LCD assembly goes on, the palmrest goes on, the wires get routed.
Once it is all back together and the battery is in I plug it in.
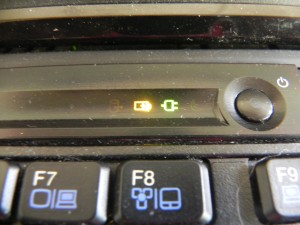
It now gets power! Success. I jiggle and gently yank around the cord and the machine maintains power.
You can turn the machine on and remove the battery and do this as well, but I’m certain the jack is good.
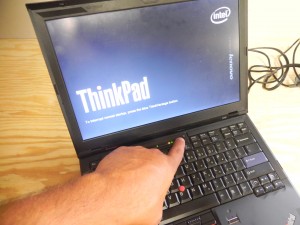
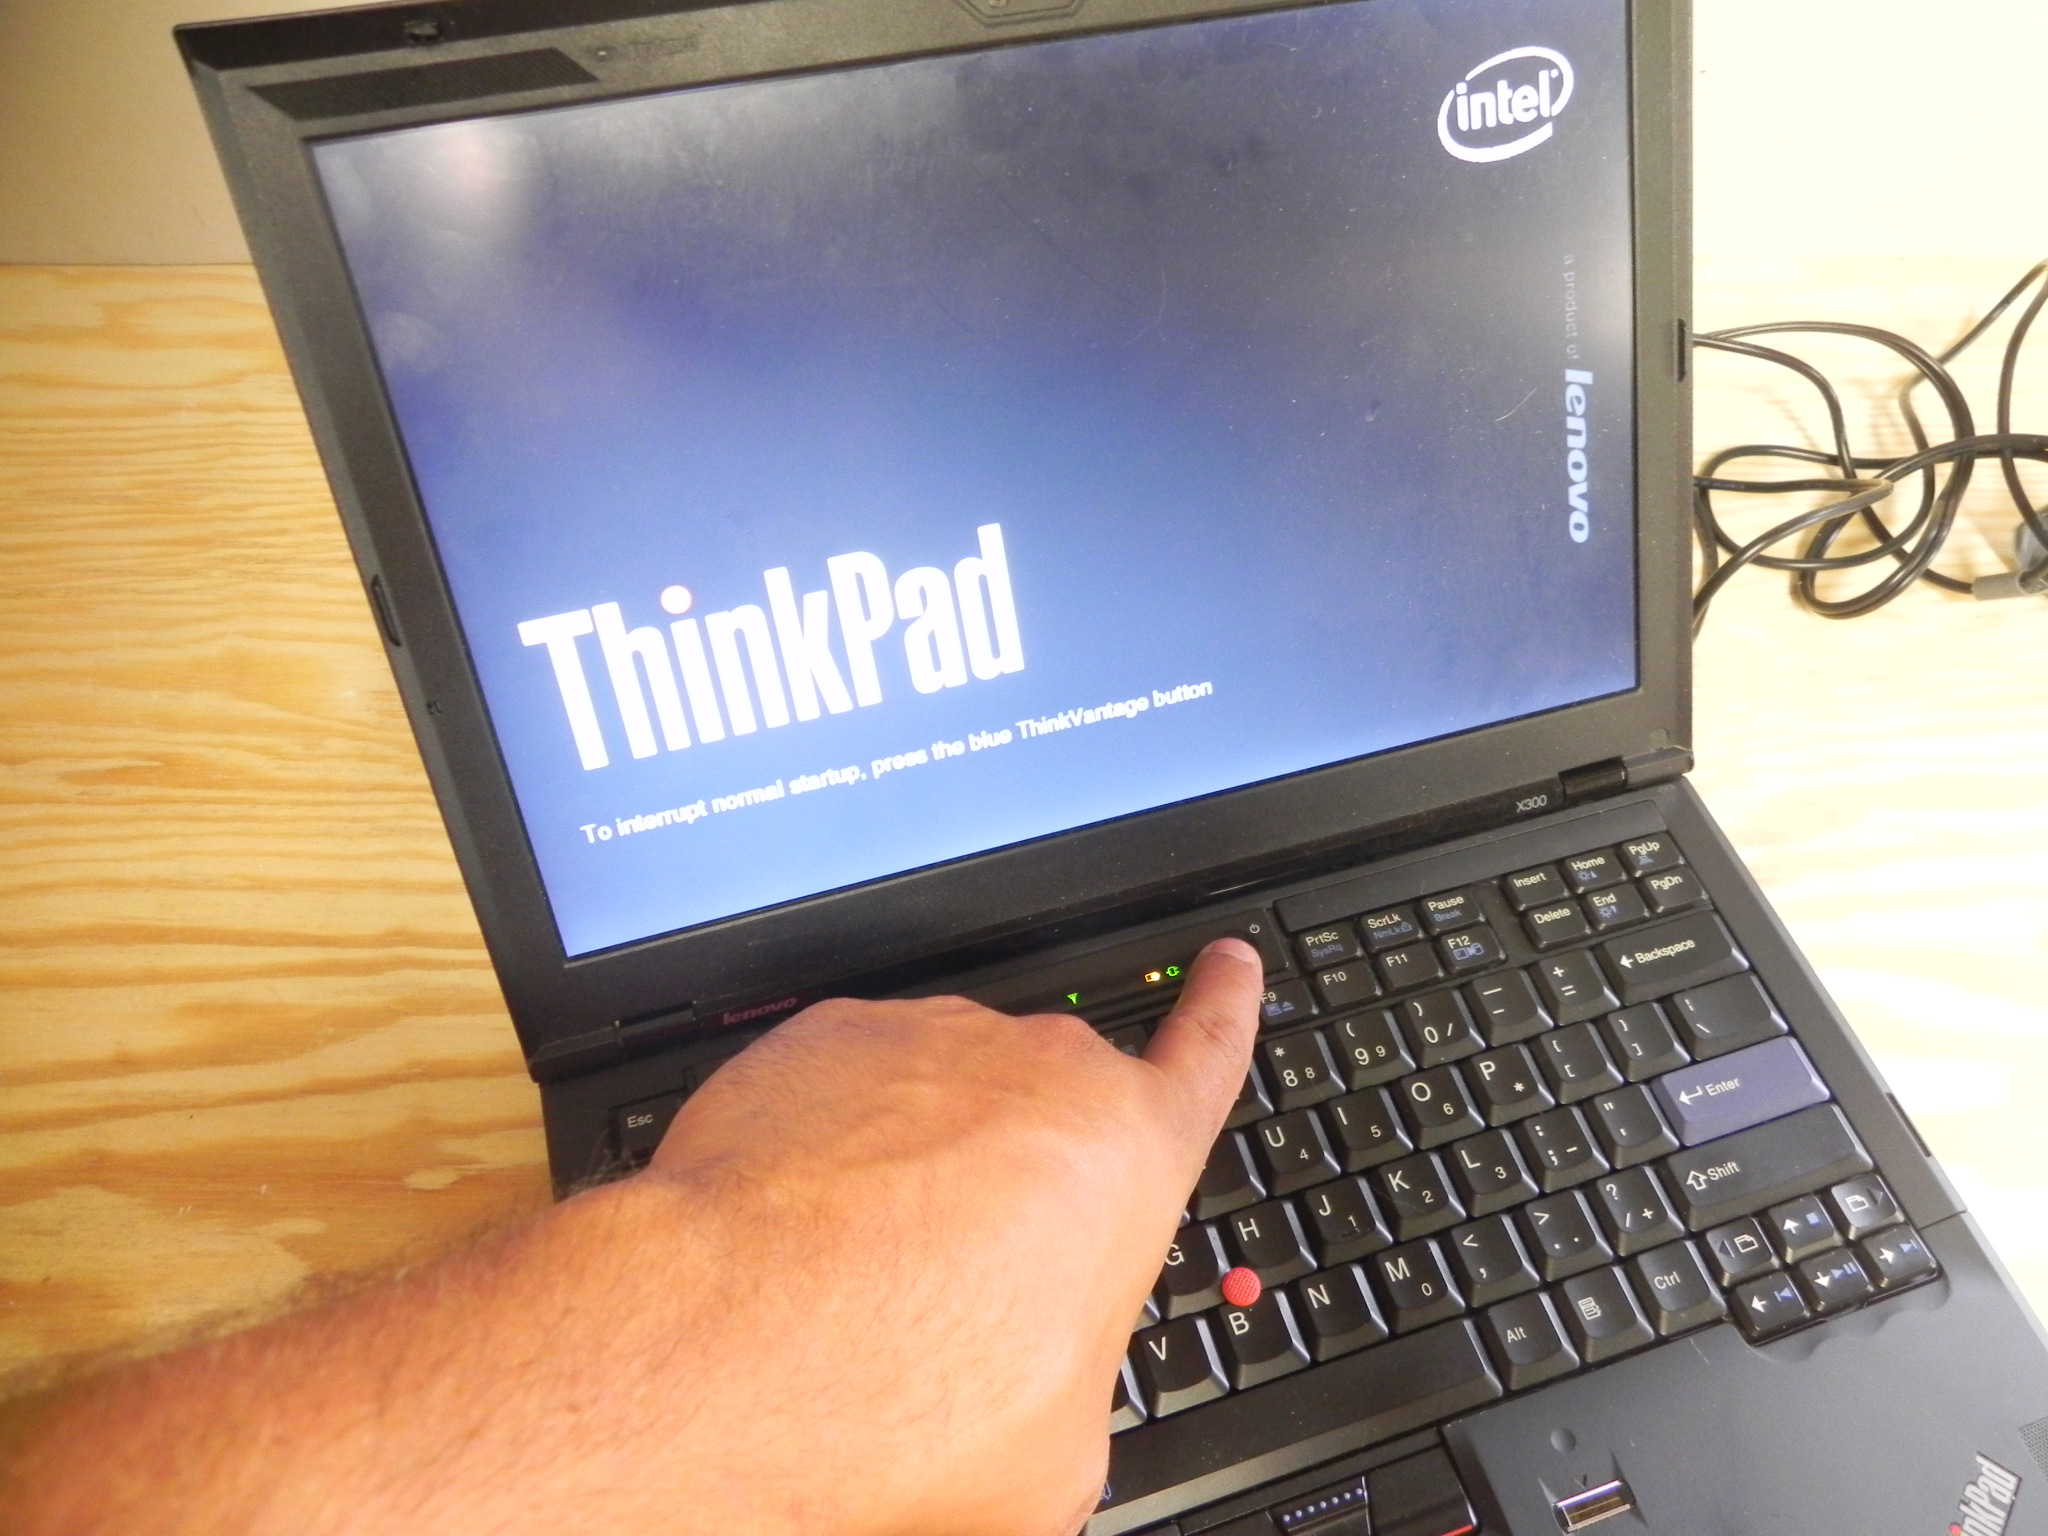
Time for the moment of truth. Does the machine stll work? Let’s turn it on.
Leave a Reply