This is a common failure on this model. Reference:
Toshiba Satellite DC Jack Plastic Breaks
I received this laptop needing a power jack repair.
 When the AC adapter was inserted into the laptop, it made no connection to the DC jack. The jack just pushed inwards and getting the adapter into the jack was impossible. Having seen this many times before, I conclude that it is time to dismantle the laptop.
First I remove the battery.
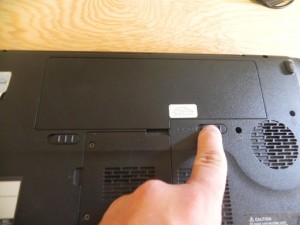
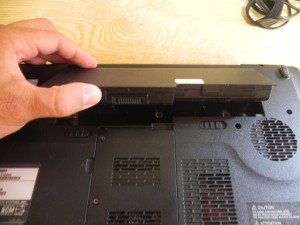
Under the battery are 3 screws. These hold the thin strip of plastic above the keyboard in place. It is a keyboard bezel of sorts, if you will.
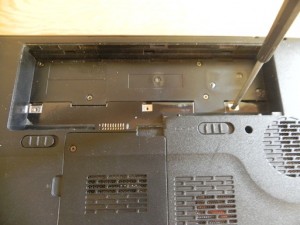
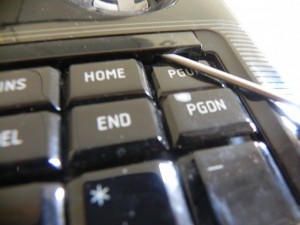
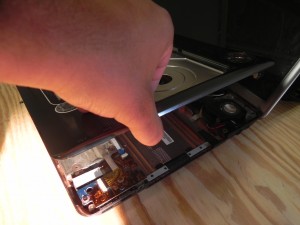
Once those are out, I flip the laptop over and open it up and gently remove the keyboard bezel with a flathead. Once it is started, it just snaps right off. Under it are more screws. These screws are for the keyboard. Once they are out, be careful removing the keyboard. You do not want to rip the keyboard ribbon or else you will be buying a new keyboard.
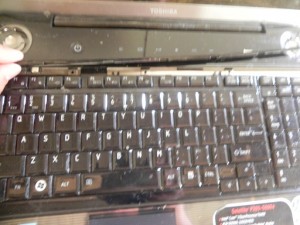
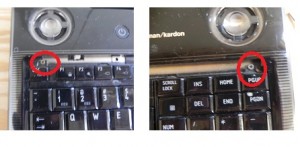
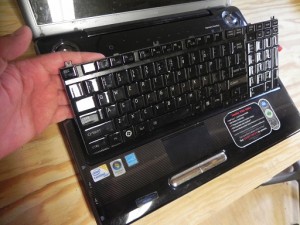
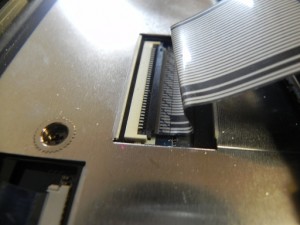
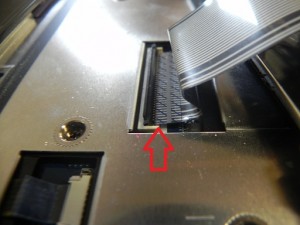
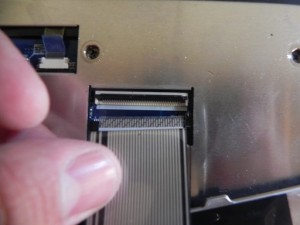
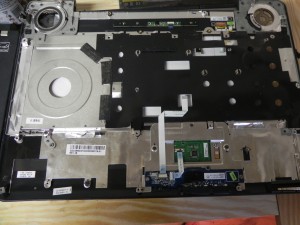
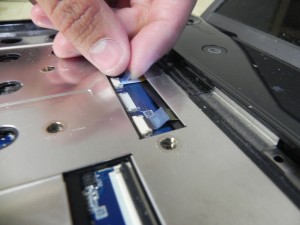
Once the keyboard is out I remove the optical drive and then disconnect the ribbons for the touchpad / palmrest / keyboard bezel, and then there are a few screws here in the metal to be removed as well.
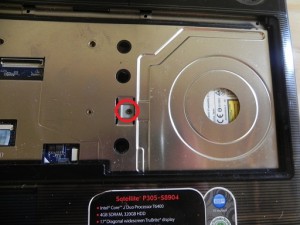
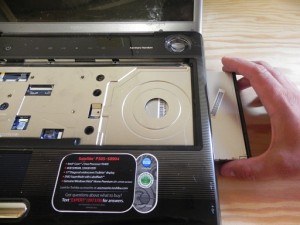
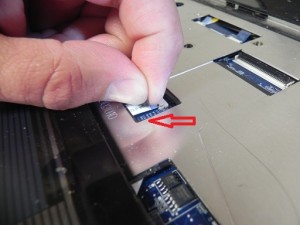
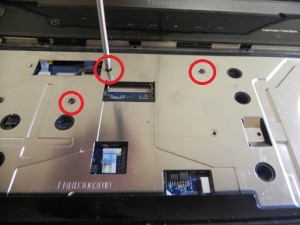
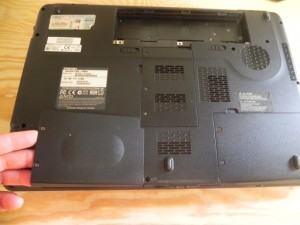
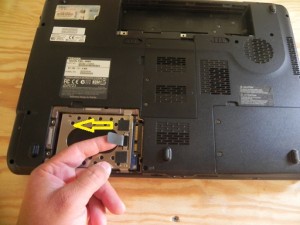
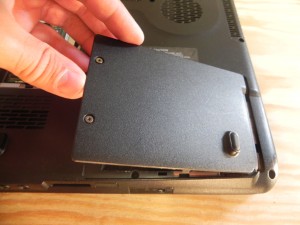
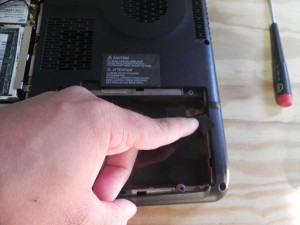
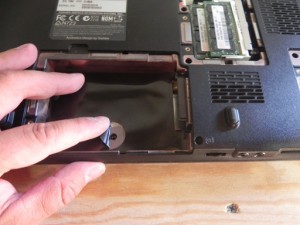
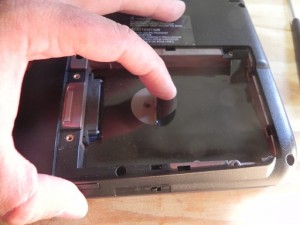
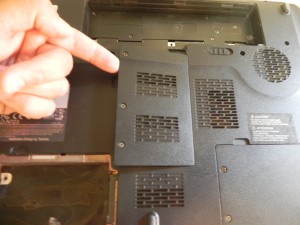
Flip it back over. Remove the hard drives, memory cover and screws from the bottom of the machine. Be sure to get the hidden screws. Then the palmrest assembly comes off.
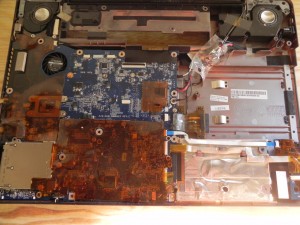
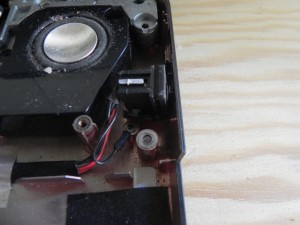
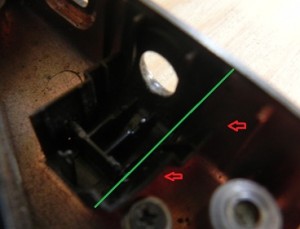
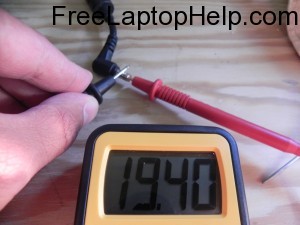
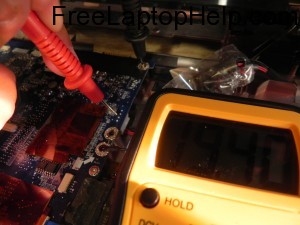
At the motherboard, the voltage is again checked. While the tester is attached to the motherboard the jack should be wiggled around in several directions to be sure that it is not loose from the wiring harness and that the AC adapter is making a secure connection. The voltage should not fluctuate. This particular jack held at 19.40 Volts. This means the jack is ok and the connection is secure and we can move on to the epoxy stage.
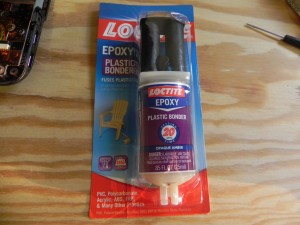
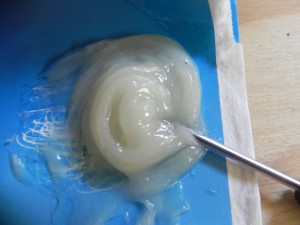
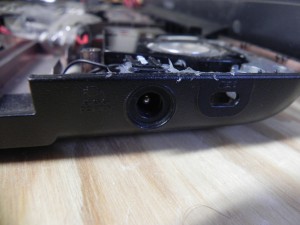
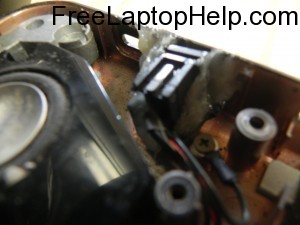
Follow the mixing instructions and whip up some glue. Slather generously where the jack is going to permanently be affixed. Quickly remove any excess epoxy and do not get it on the case. Press the jack into place. Go ahead and add more to the sides and this thing will never move again. If you are curious, yes, removing this will be very difficult if it breaks again, but the jack itself is pretty durable. I’ve done this to hundreds of machines with zero complaints.
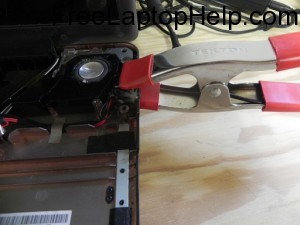
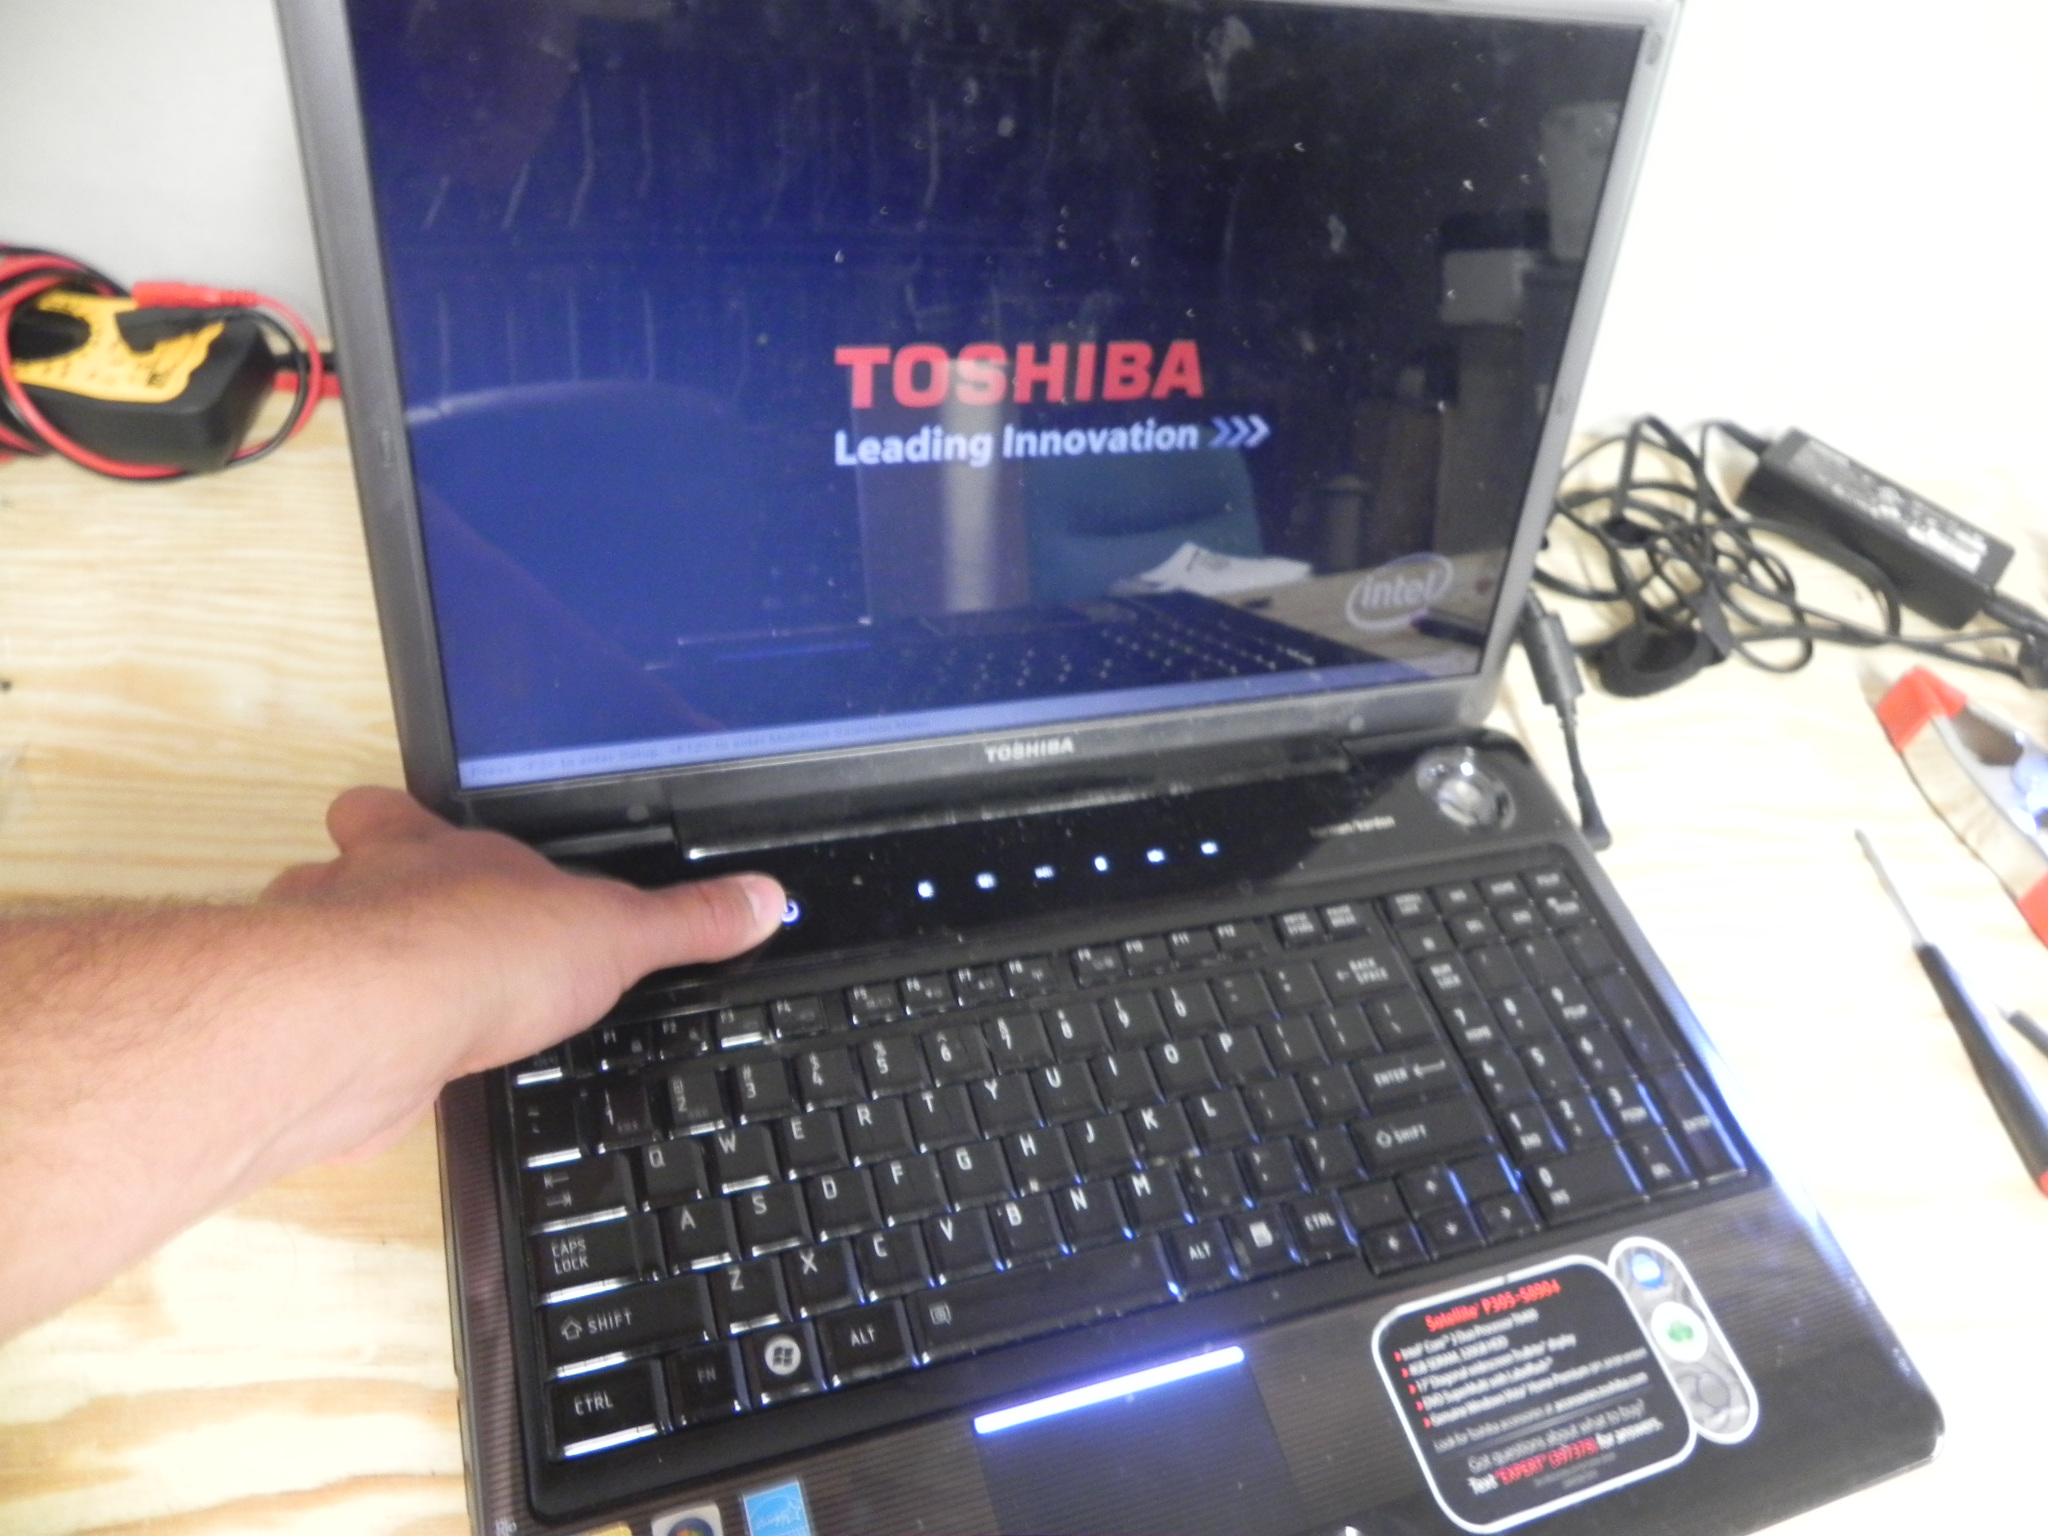
After the glue is dry install the palmrest, install the battery and connect the front ribbon. Plug the machine in to the AC adapter and you should see the LED light up indicating that the unit is plugged in and the battery charging LED should illuminate as well.
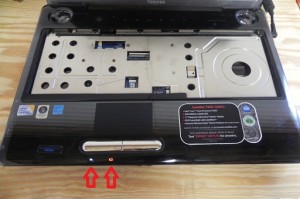
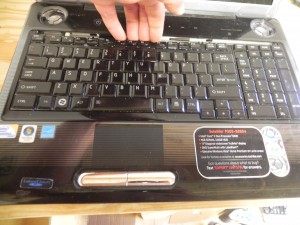
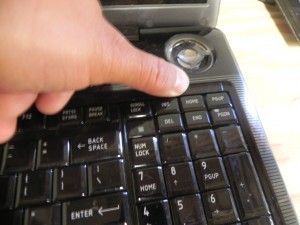
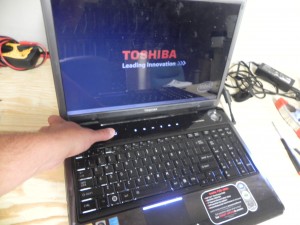
Now remove the battery and reassemble the unit and test it out.
Leave a Reply